Raw graphics output on Linux: Part 1

In my quest to understand better how my computer works, I decided I want to write a very minimal window server. The first step in that is to create something that performs raw graphics output to the screen, directly to its back buffer.
So, as a test bed, I decided to grab the VirtualBox emulator and install Ubuntu Minimal on it. Ubuntu Minimal is a (comparatively) small Linux that is still easy to install, and will provide the graphics drivers we'll be talking to, and a file system and a loader to load the code to run.
If you just want to know how drawing itself works, feel free to skip to Part 2 in this blog series.
Setting up the virtual machine
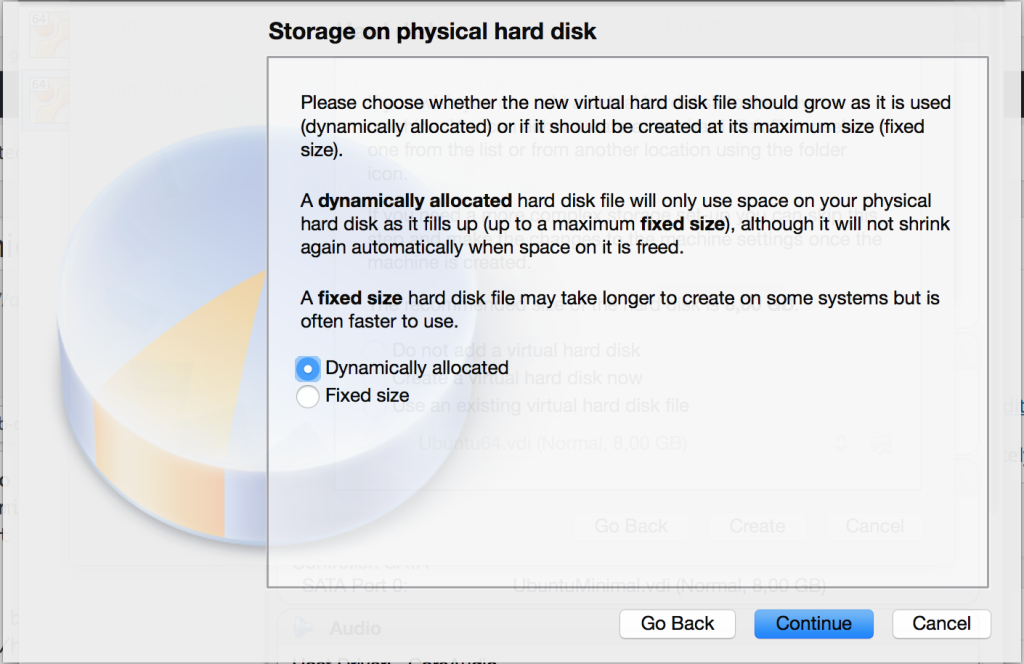
Setting up a VM is fairly self-explanatory with the setup assistant in VirtualBox. It has presets for Linux and even for various Ubuntus, and most of the time the defaults are fine for us:
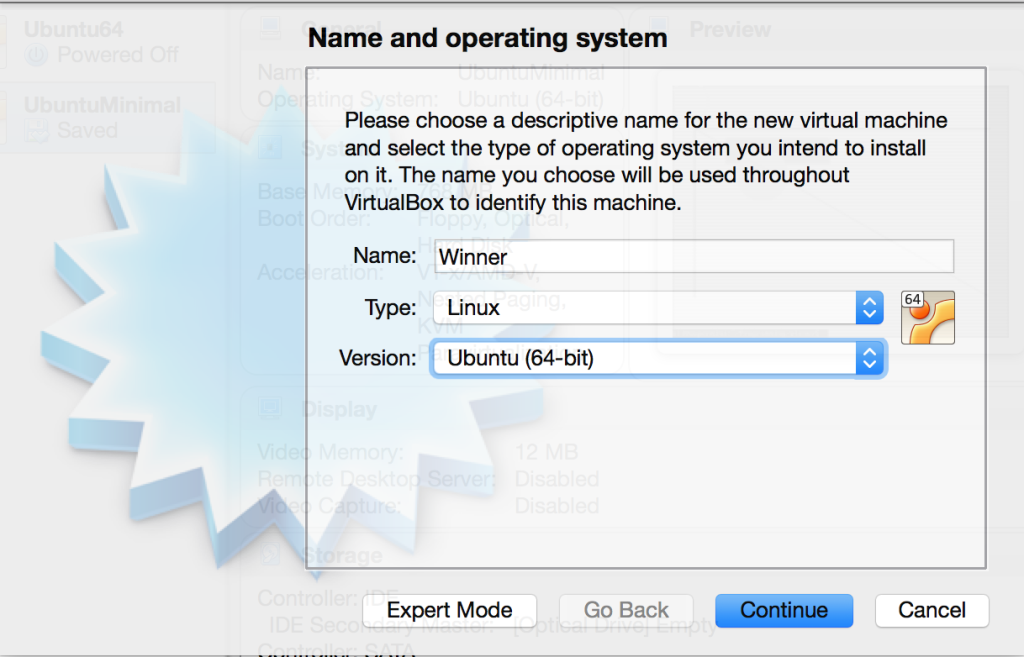
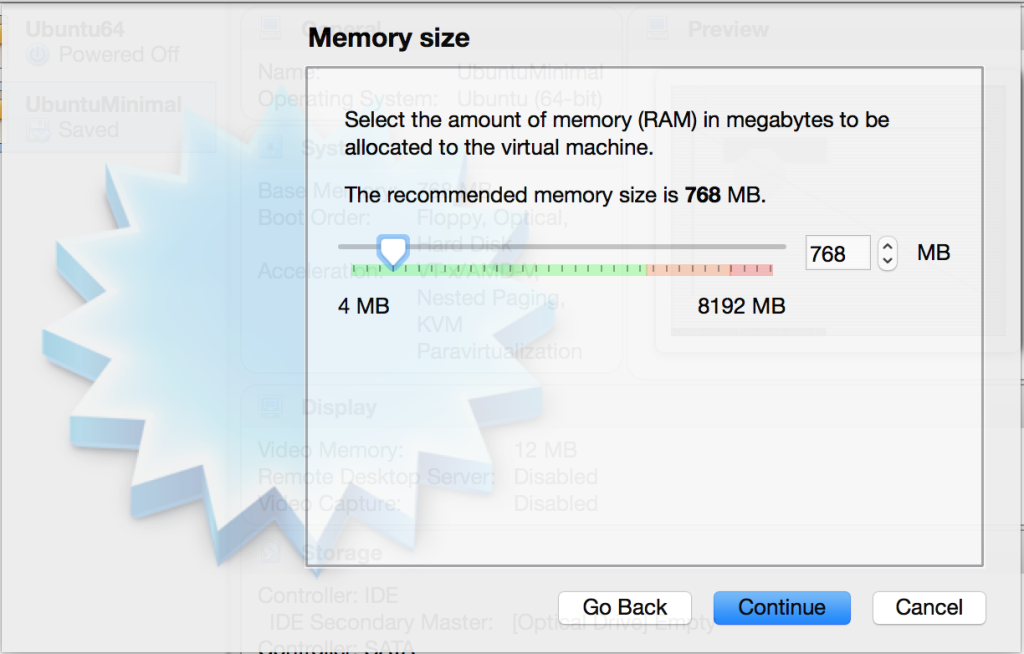
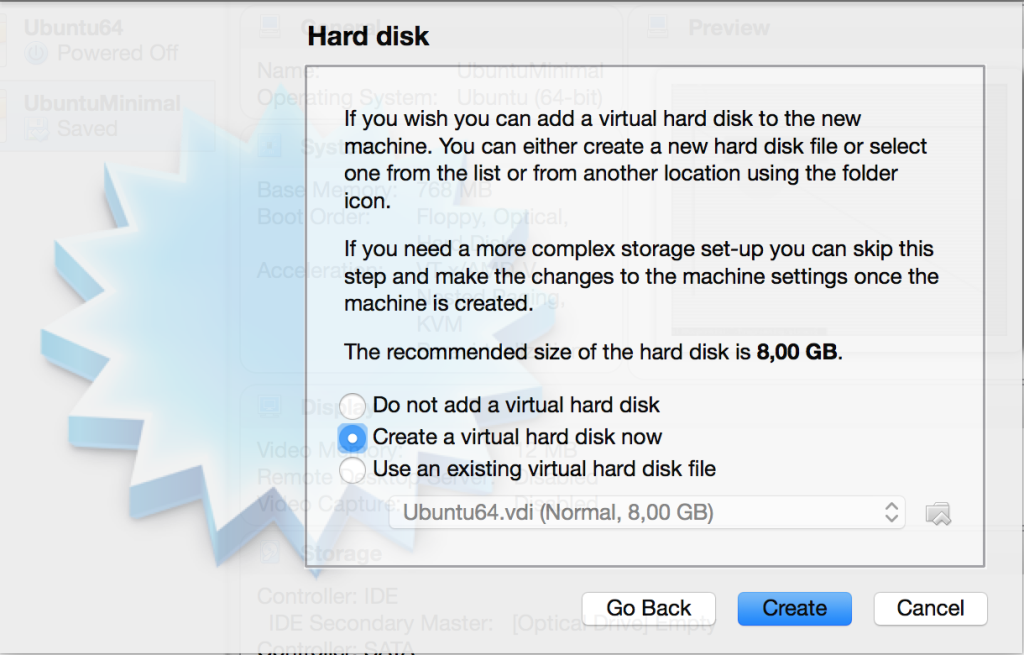
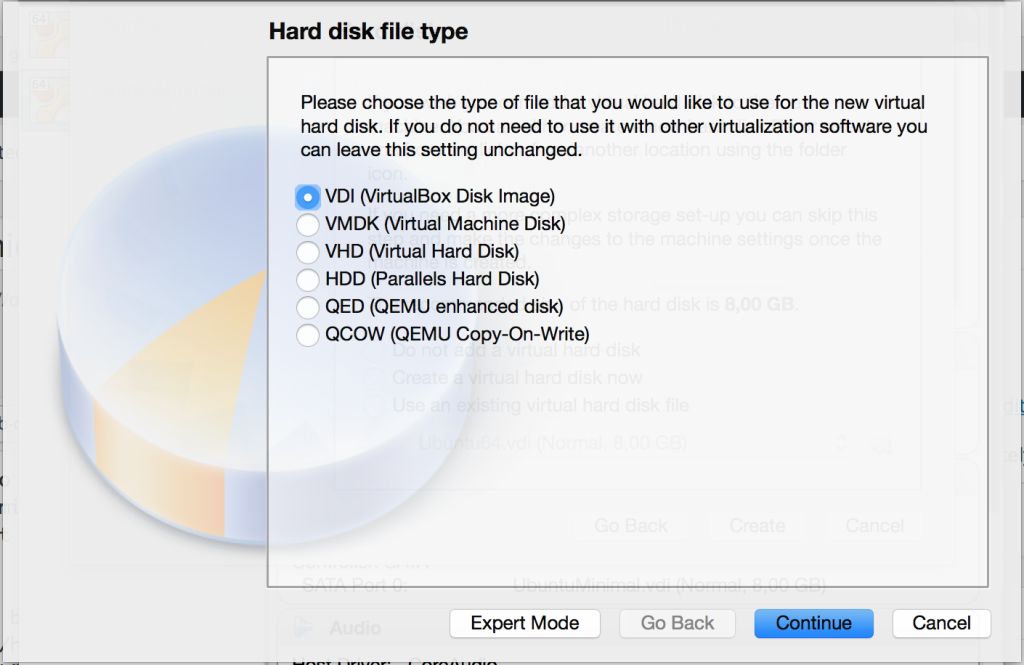
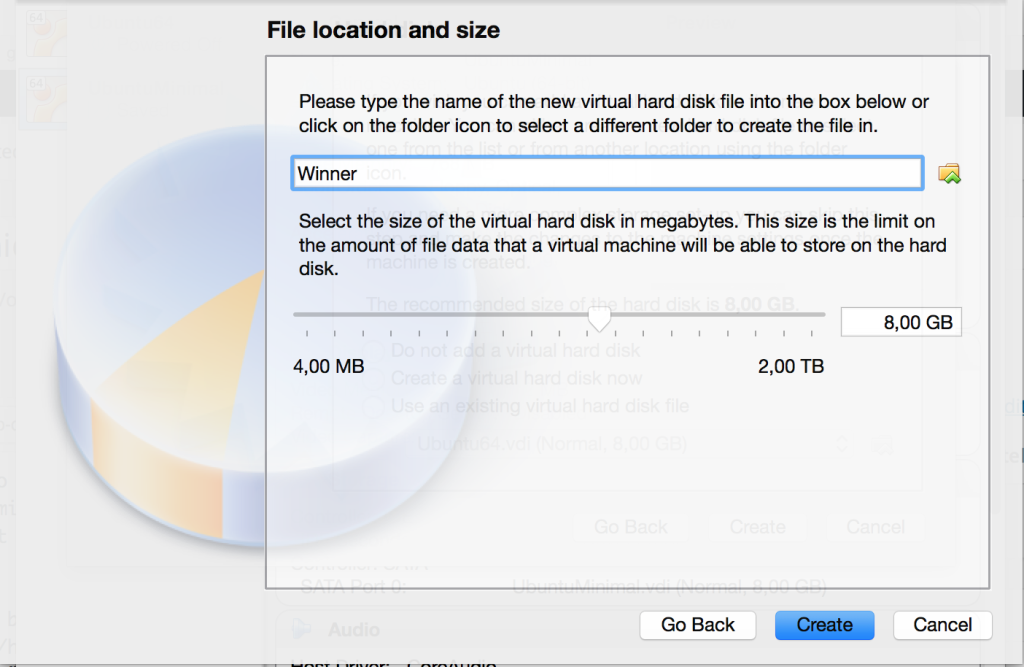
I'm choosing to name the VM Winner, short for window server, but you can choose whatever name you like:
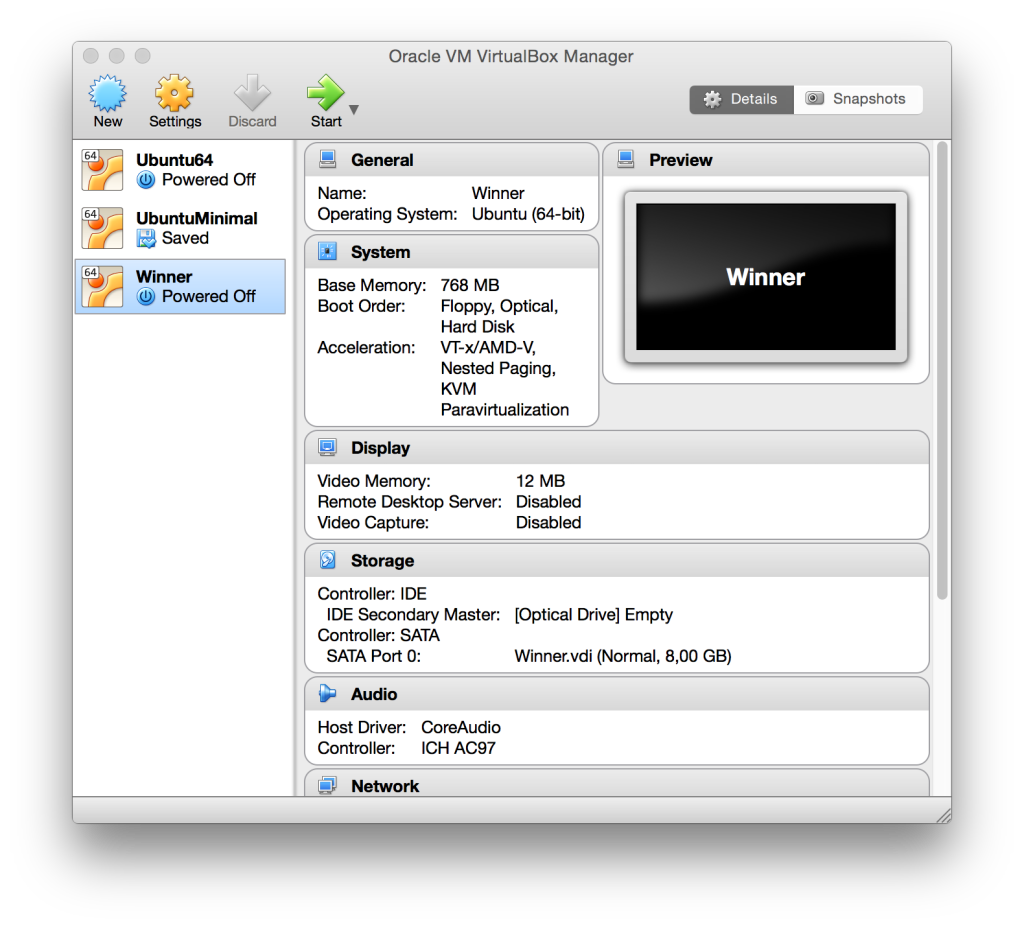
Now you have a nice emulated empty computer
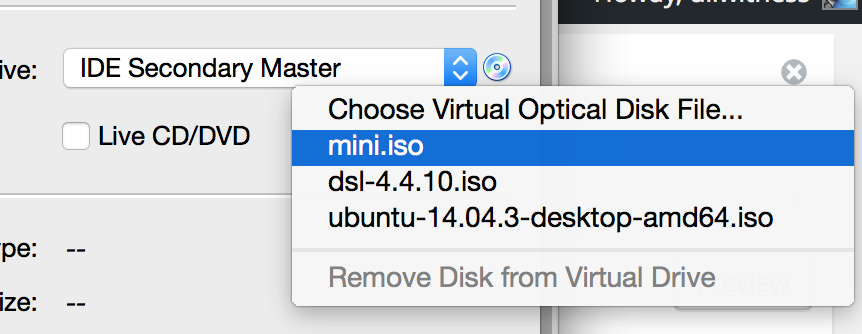
Now, we need to tell it to pretend that the mini.iso Linux disk image file we downloaded from Ubuntu was a CD inserted in its optical drive by selecting the Empty entry under the CD, then clicking the little disc icon next to the popup on the right to select a file:
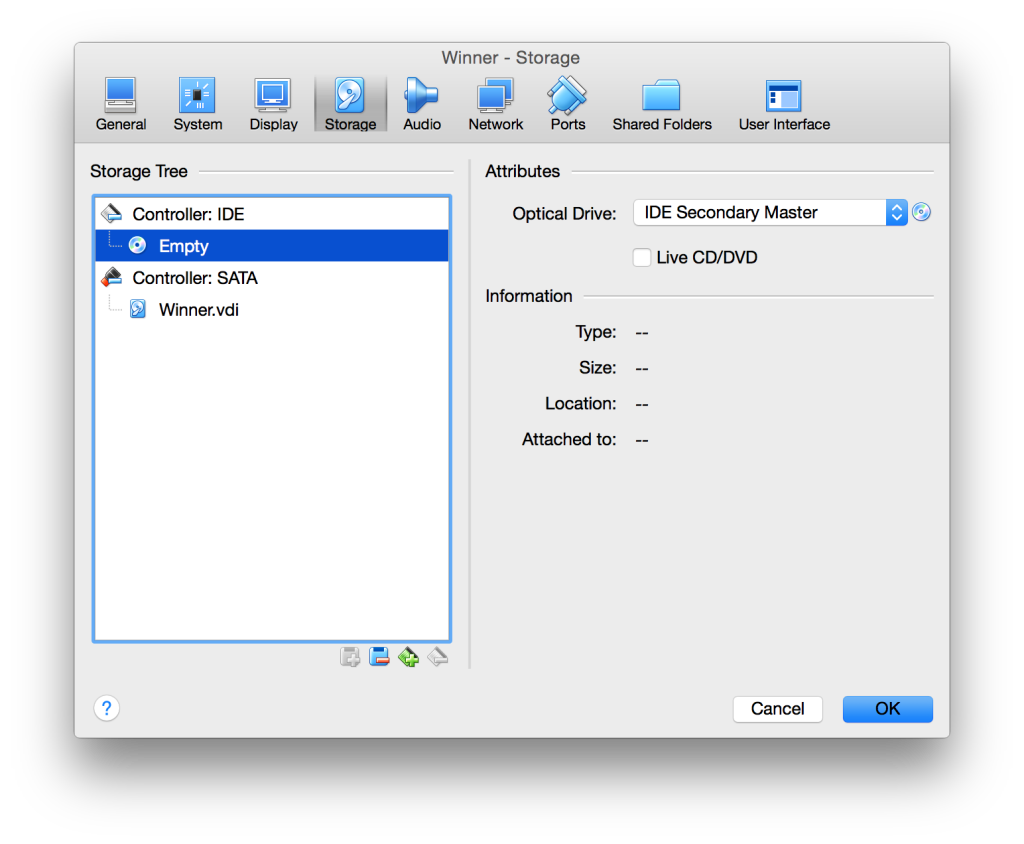
Note that you would have to use the Choose Virtual Optical Disk File item, I have the mini.iso entry in here already because I previously selected the file.
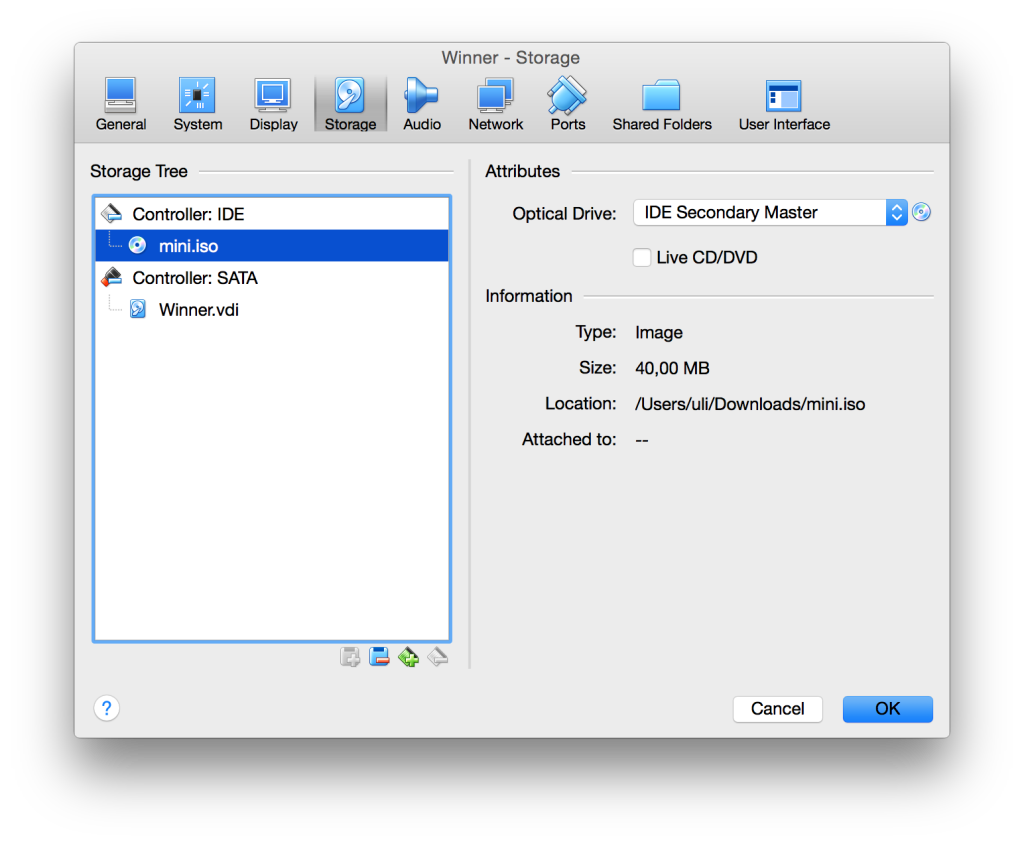
Now you can close the window using the OK button and click the green Start arrow toolbar icon to boot the emulated computer.
Installing Ubuntu Minimal
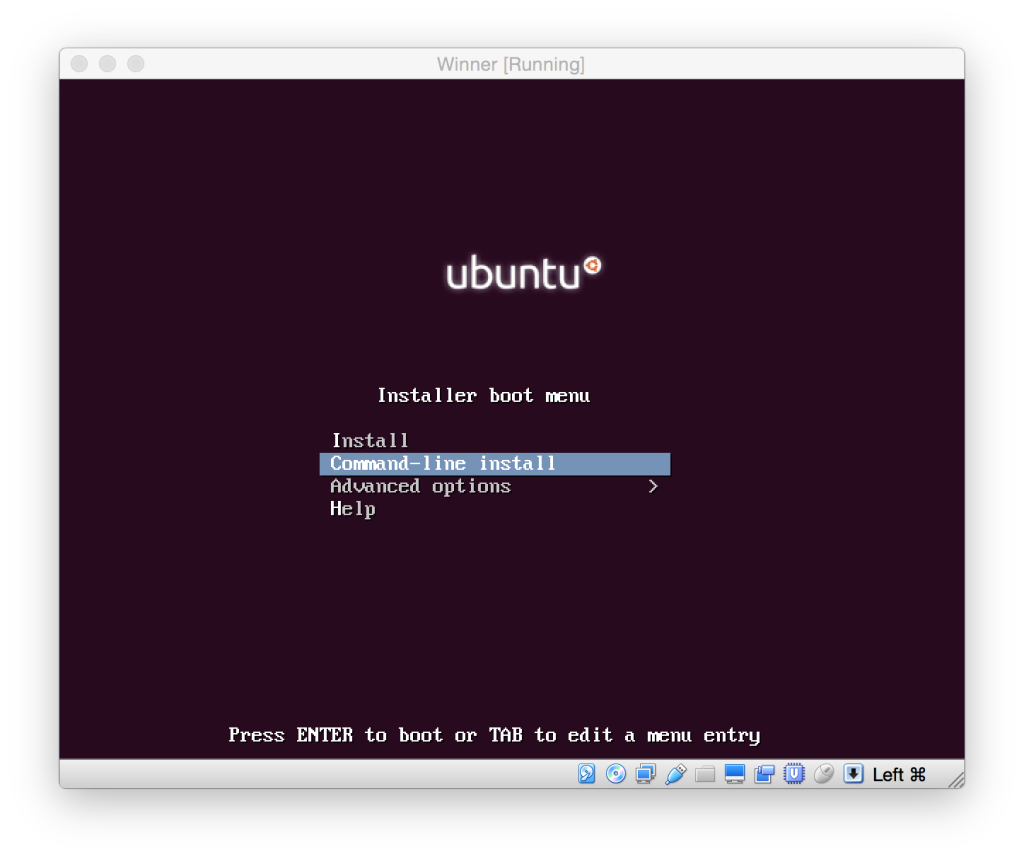
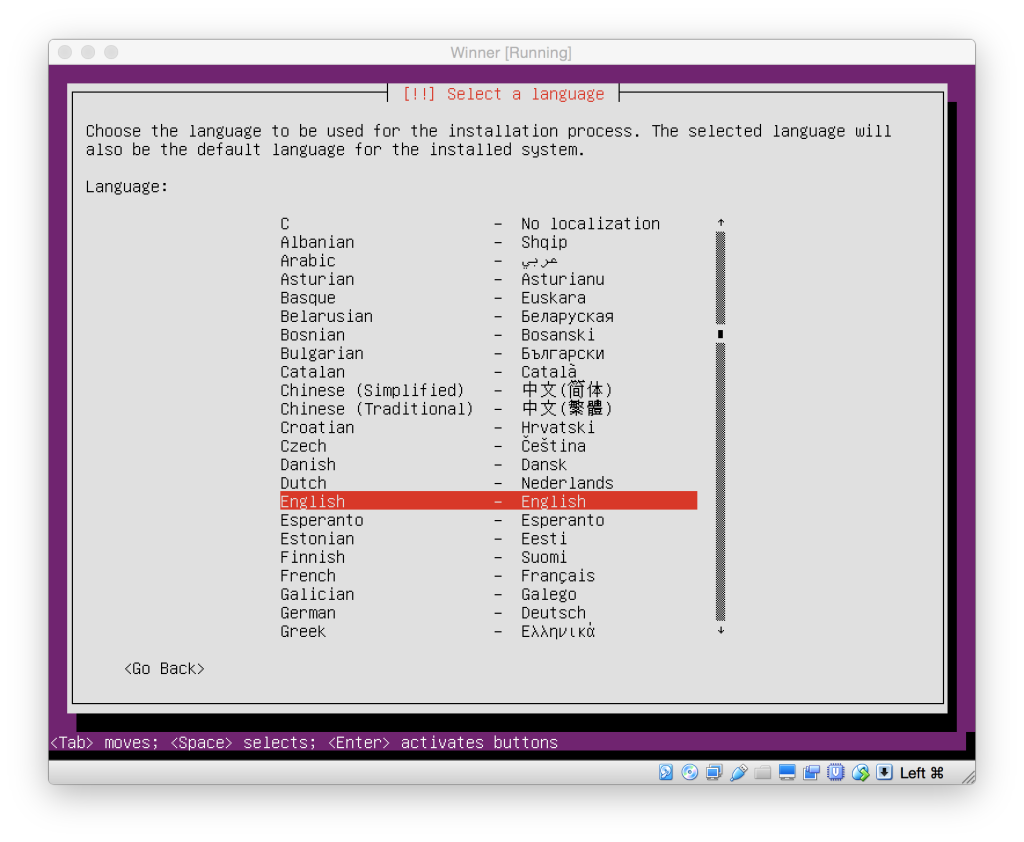
Ubuntu will boot up. Choose Command-Line install and use the arrow and return keys to navigate through the set-up. Pick your language, country and keyboard layout (if youre on a Mac, choose to tell it instead of having it detect, and pick the Macintosh variant they offer):
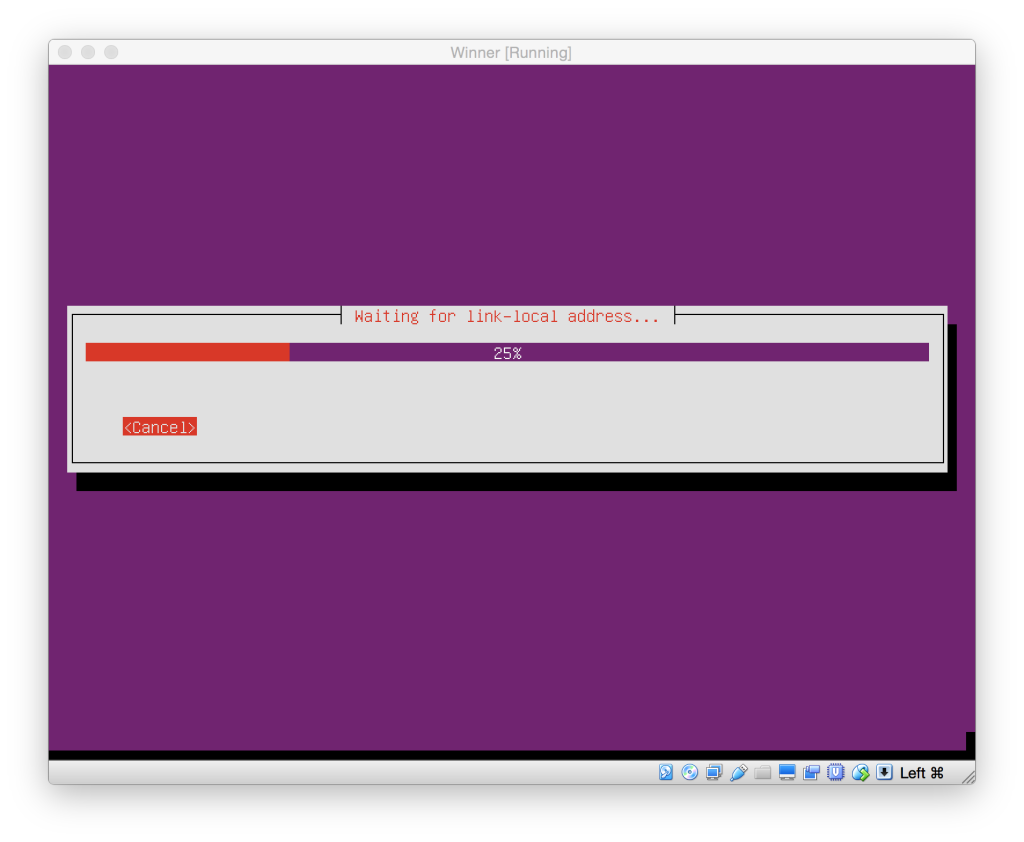
It will then churn a bit:
And then it will ask you to name your computer:
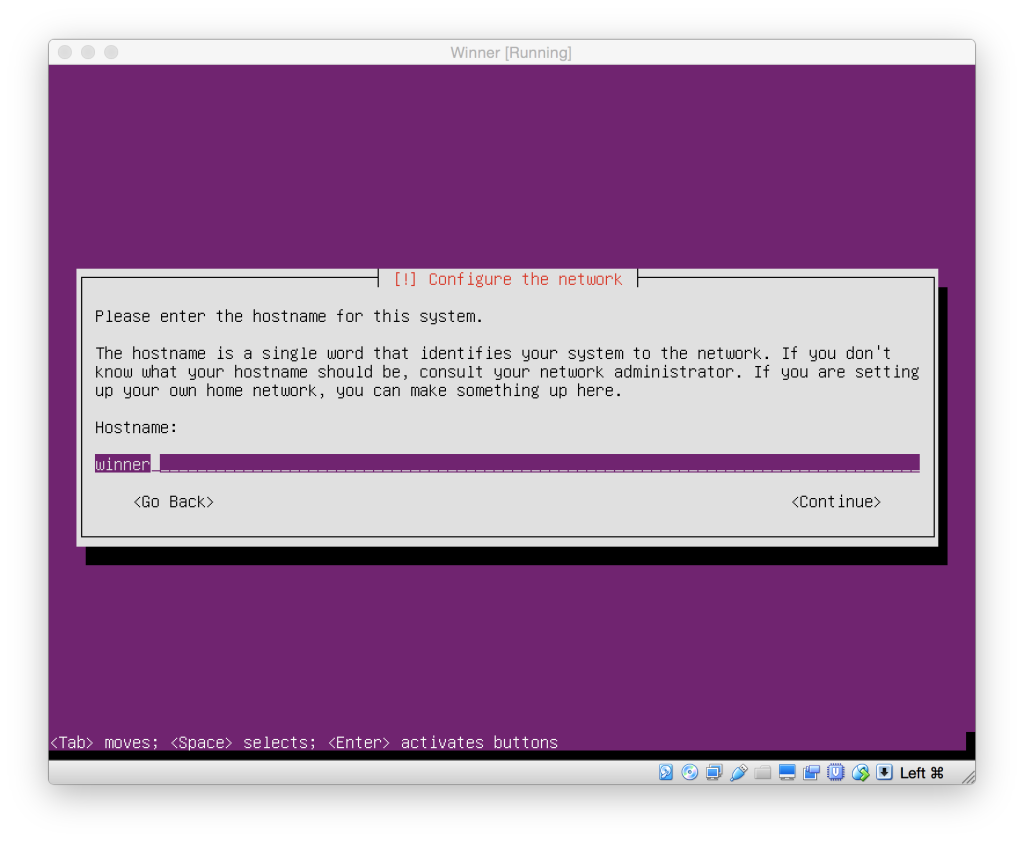
You can pick pretty much any name for your emulated home computer, it doesnt really matter for what we are doing. I picked winner.
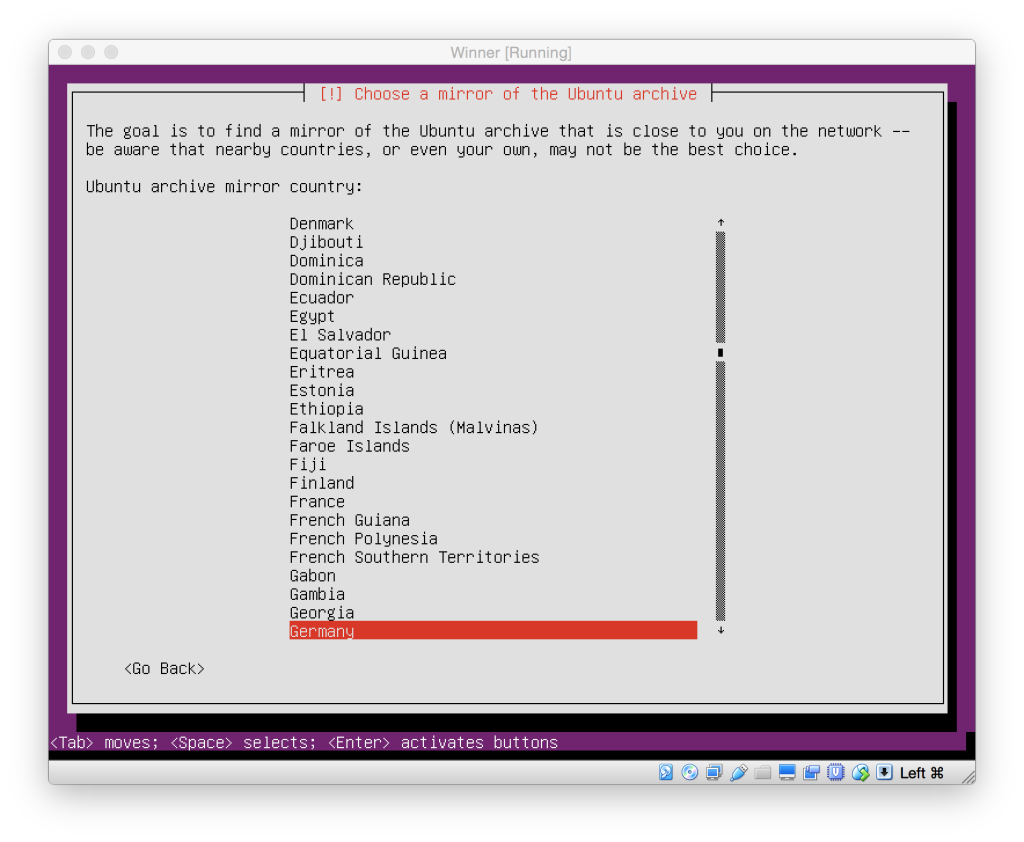
Then it will ask you to choose the country you are currently in, so it can pick the closest server for downloading additional components:
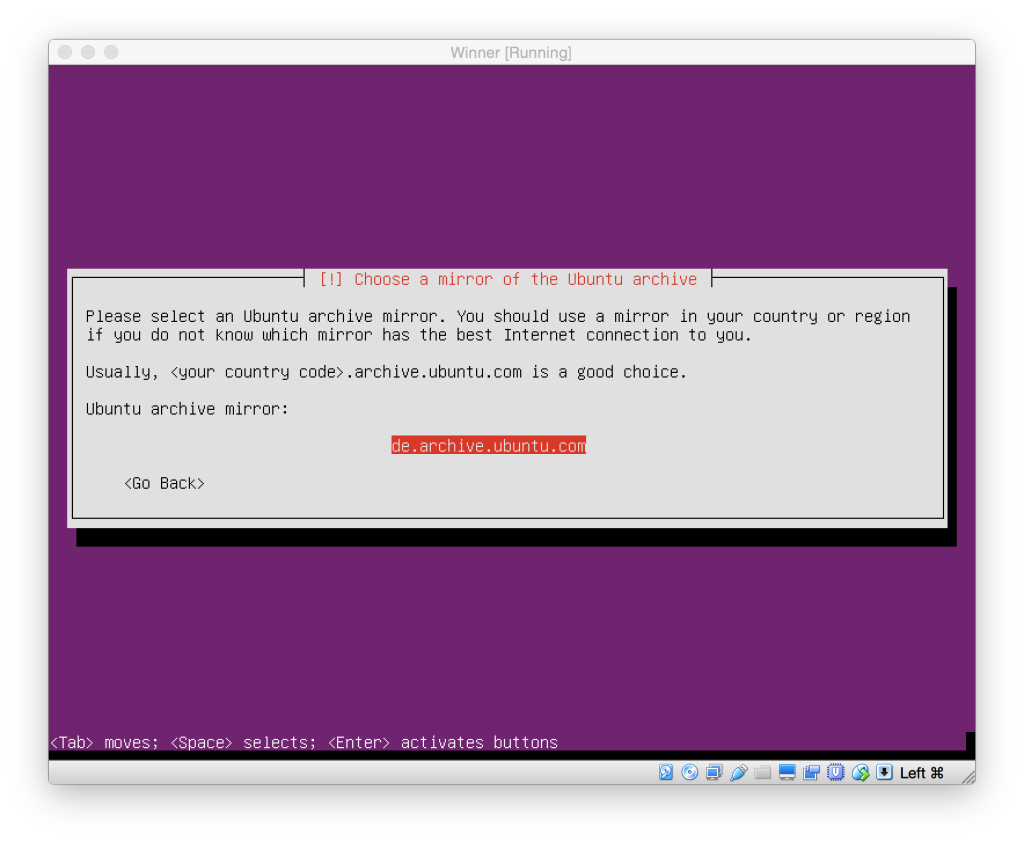
And if they have several servers in your country, they'll offer a choice. Just pick whatever it offers you, it'll be fine.
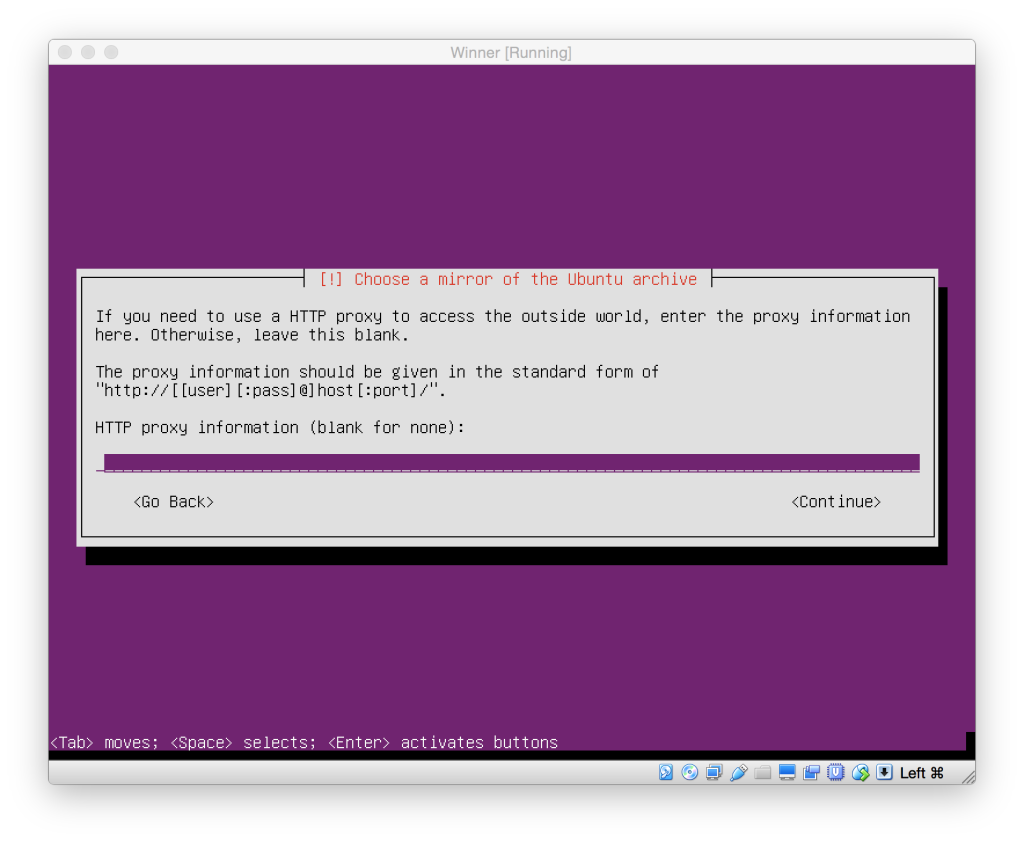
Then it will ask you if you need to use a proxy. Unless you're in a weird restrictive company or university network or trying to get around an oppressive government's firewall, you can just leave the field empty and press return here to indicate no proxy is needed:
Then it will churn some more, downloading stuff off the internet etc.:
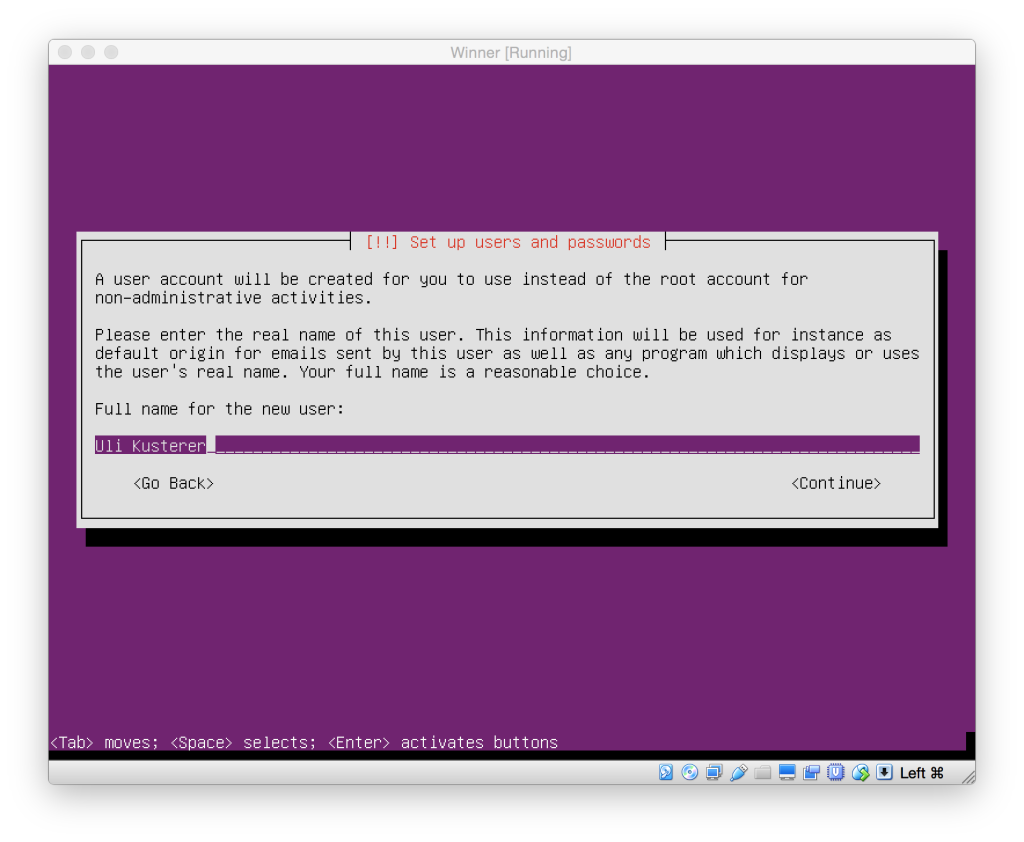
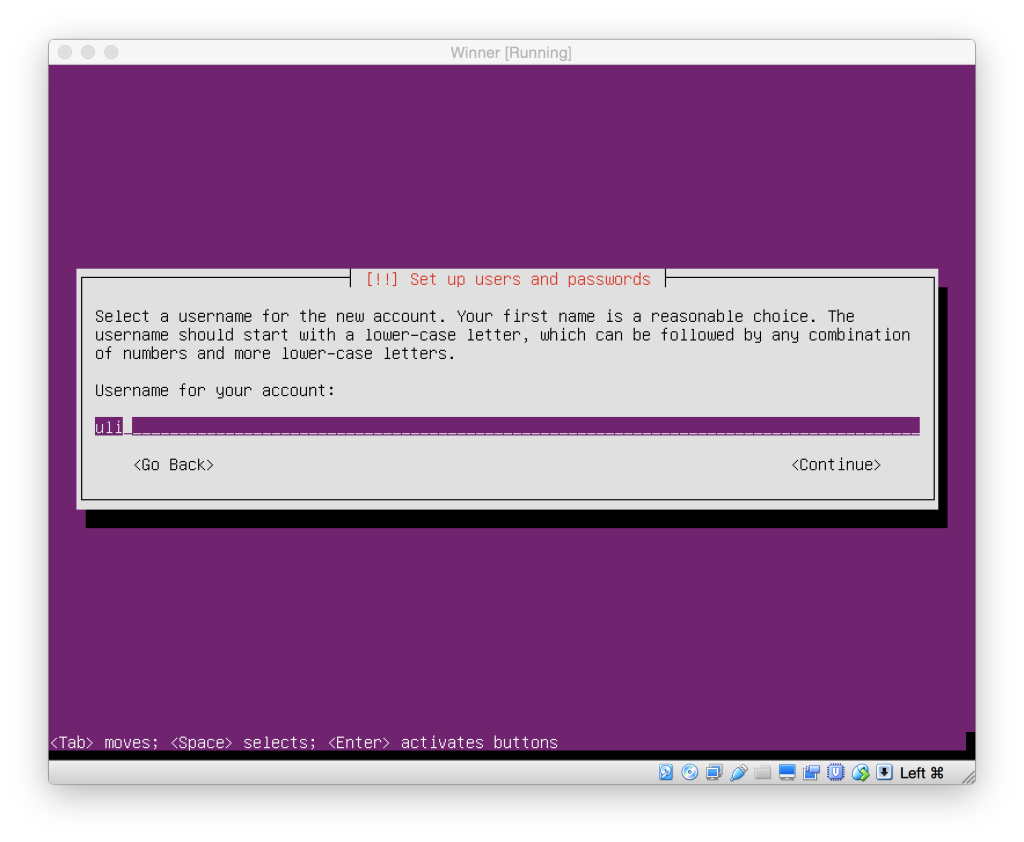
Now it's time to set up your user account, password (twice) etc.:
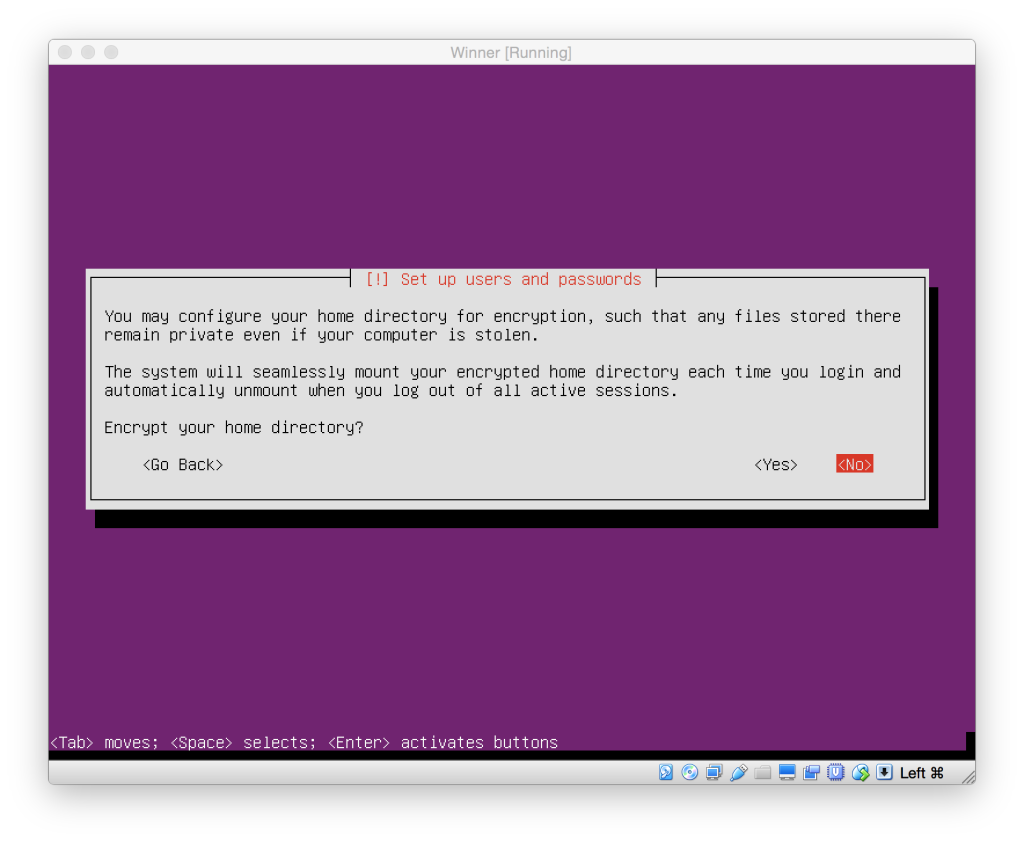
In this emulator, we don't need an encrypted hard disk (If you need it, your computer's hard disk is probably already encrypted, and your emulated computer's files are all stored on that anyway).
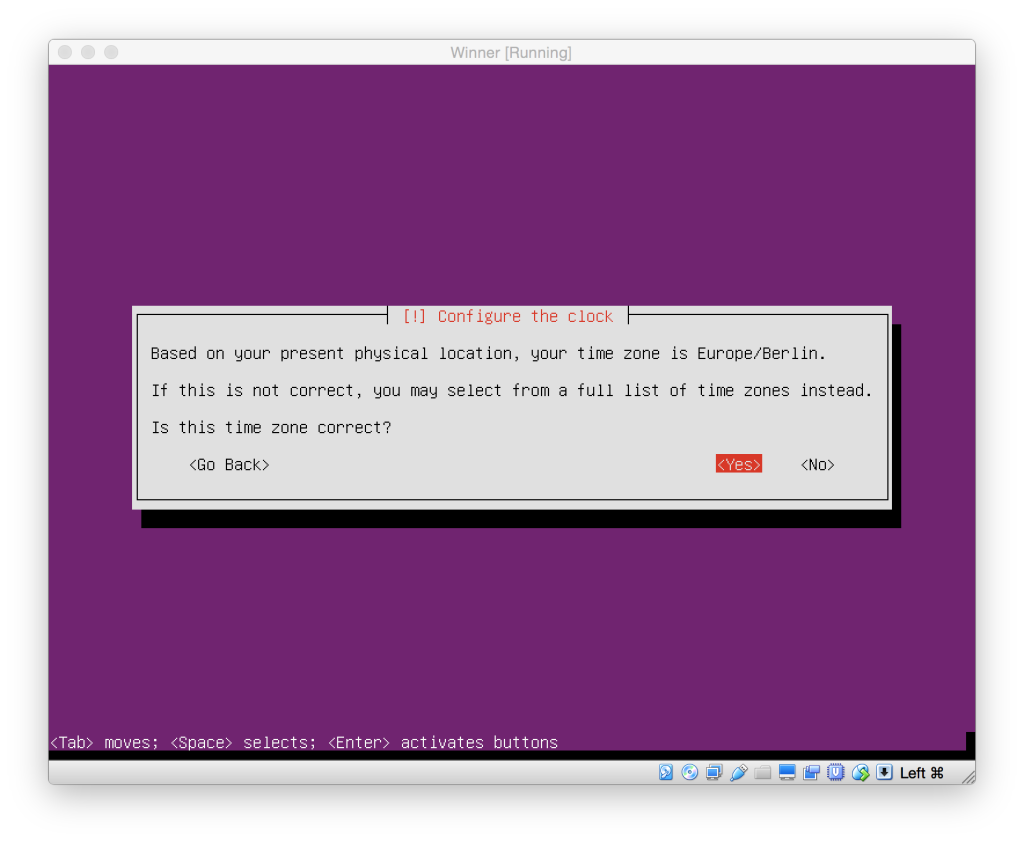
Then it will ask you about some system clock settings (the defaults should all be fine here:
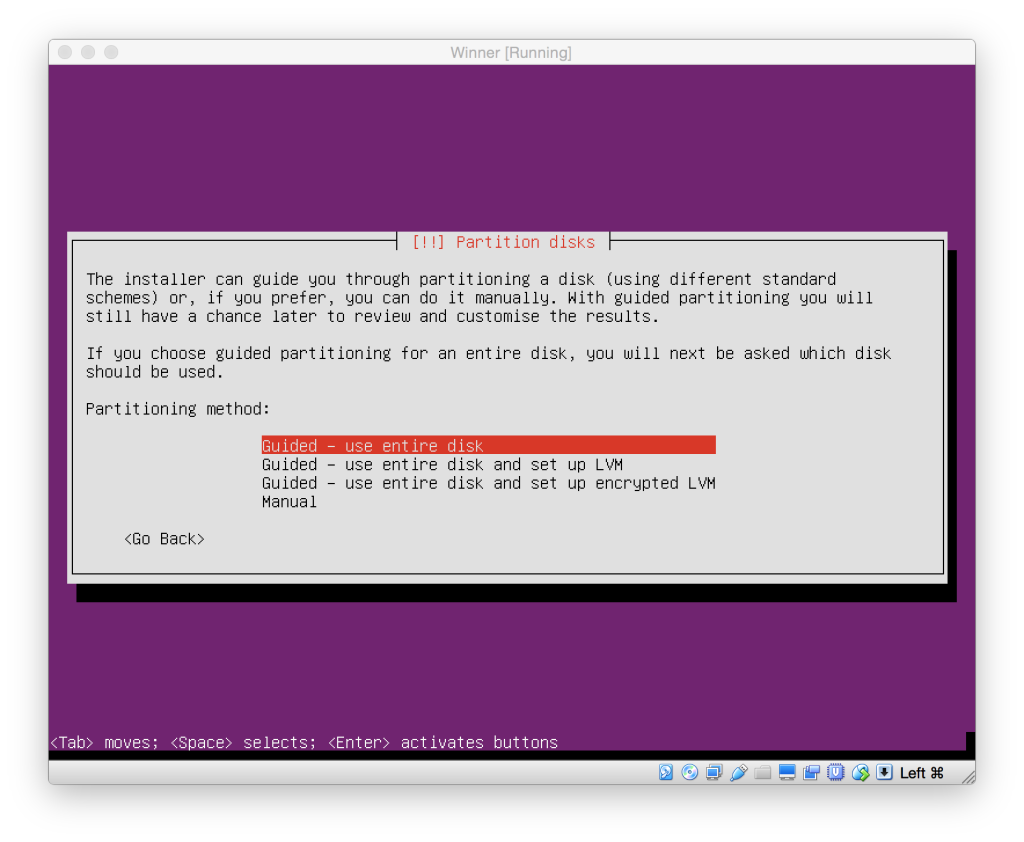
Then it will ask how to partition and format the hard disk. You're not dual-booting anything, the emulated computer is for Linux only, so just let it use the entire disk:
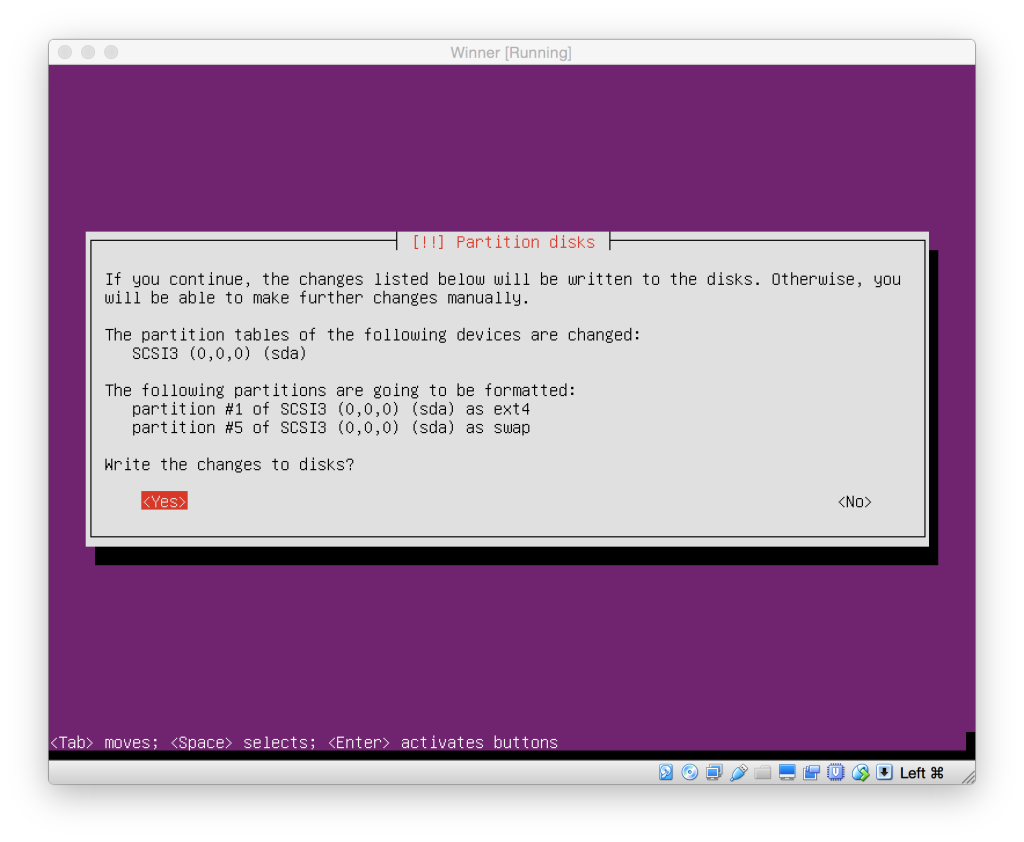
And don't worry about selecting the wrong disk, it will only offer the emulated hard disk we created. Tell it to create whatever partitions it thinks are right:
And it will churn and download some more:
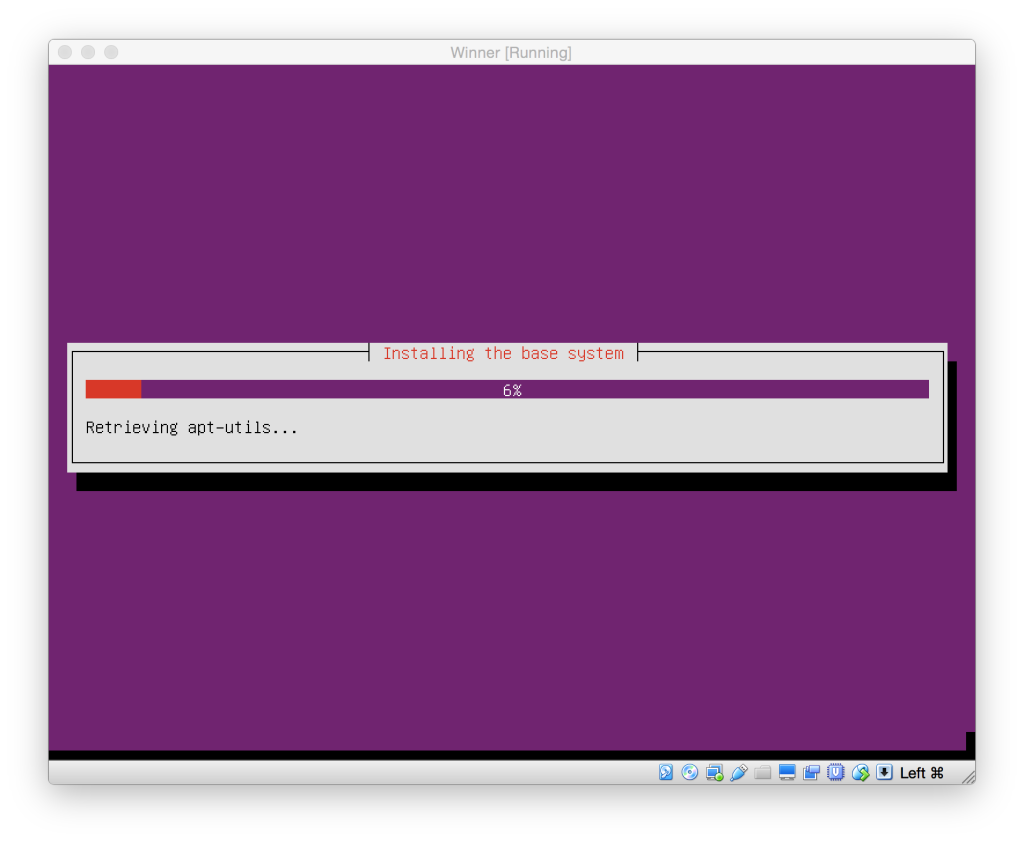
Since we may want to keep using this for a while, let's play it safe and tell it to apply any important updates automatically:
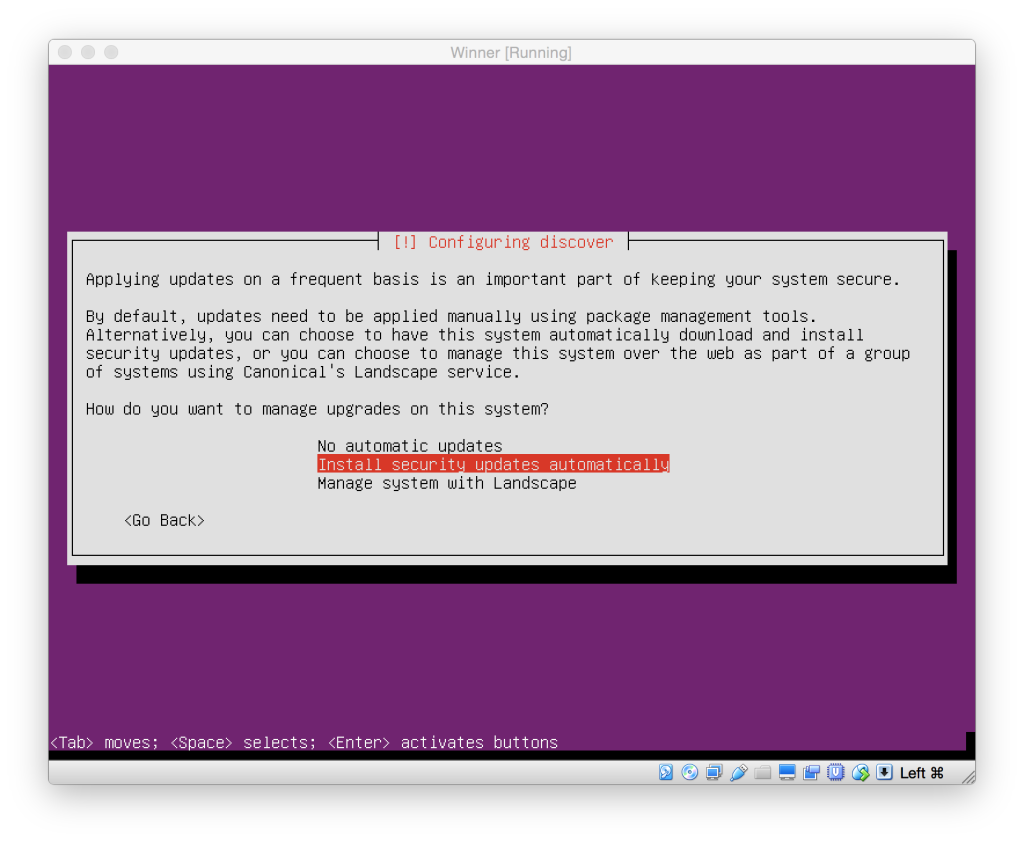
And when it asks if it is OK to install the boot loader in the MBR, just say yes:
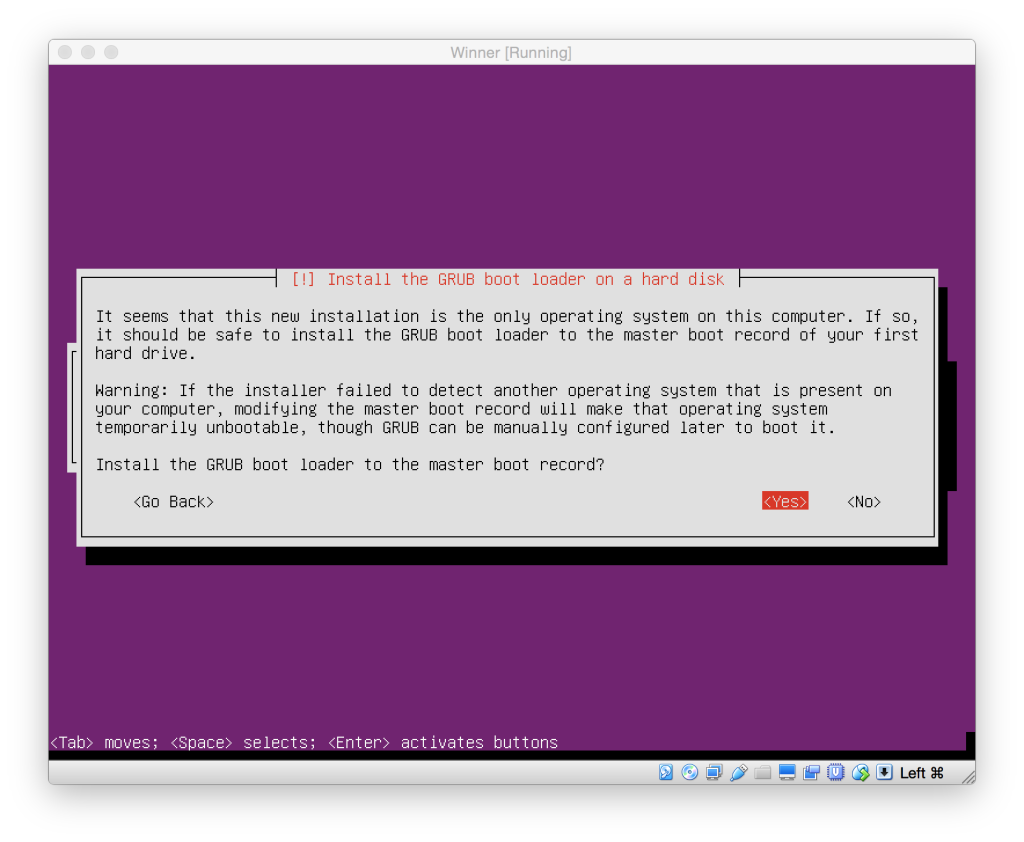
Again, there is no other operating system inside this emulation, they're just being overly cautious because so many linux users have weird setups.
For the same reason, you can just let it run the emulator with a UTC system clock as it suggests:
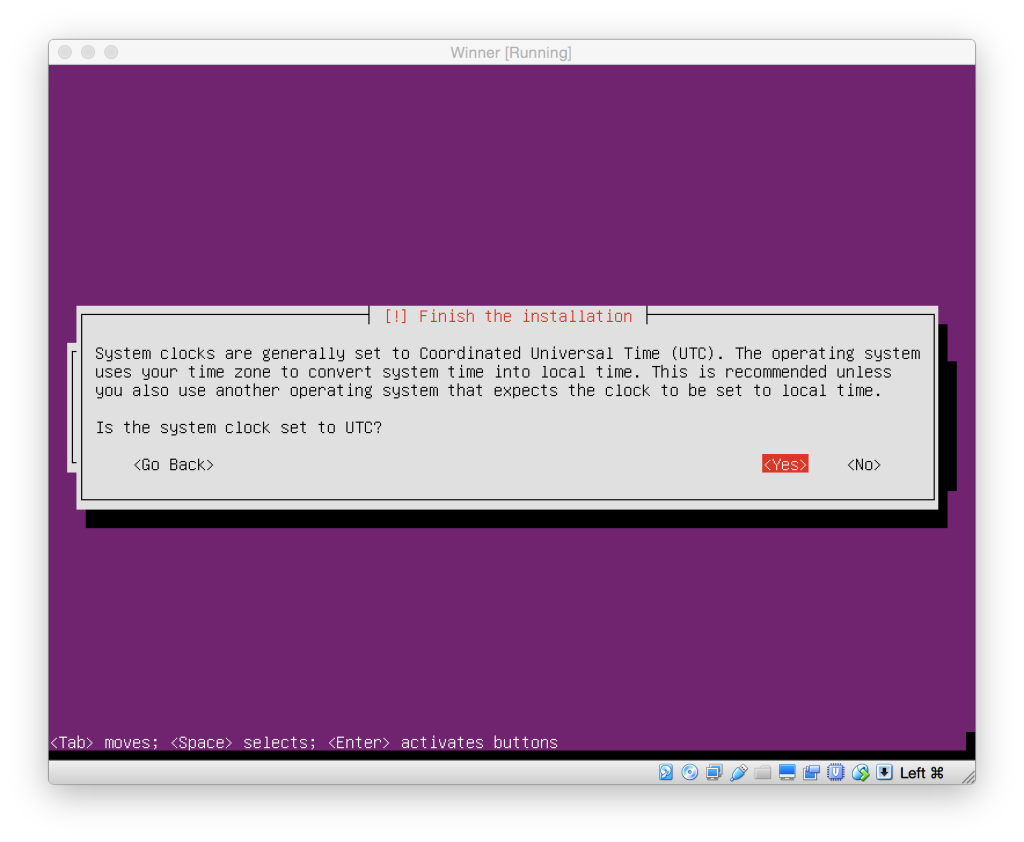
That's pretty much all. Tell it to restart, and quickly eject the CD disk image by un-checking it from your Devices menu:
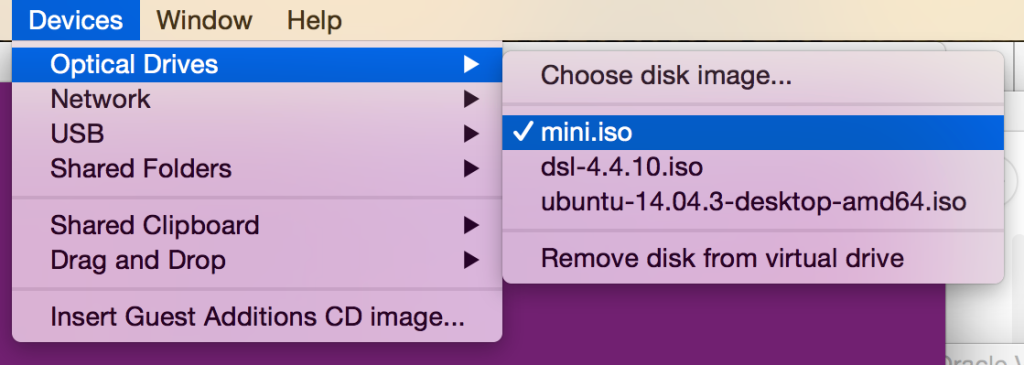
Setting up Ubuntu
Ubuntu is pretty much ready to go. You'll have a neat command line OS. However, for our purposes, we want to have graphics card drivers. Since this is the minimal Ubuntu, a lot is turned off, so let's turn that back on again and install some missing parts that we want for our experiments. Log in with your username and password and edit the configuration file /etc/default/grub which tells the bootloader what to do:
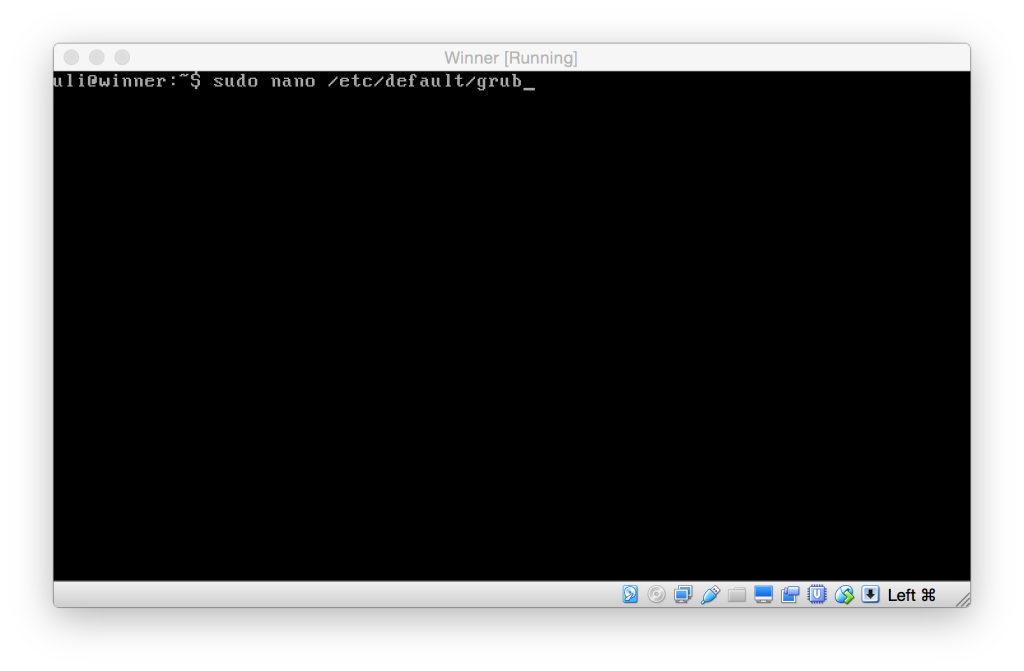
If you're unfamiliar with the Unix Terminal, just type sudo nano /etc/default/grub and enter your password once it asks. sudo means pretend you're the computers administrator (as we're changing basic system settings, that's why it wants your password). nano is a small but fairly easy to use text editor. It shows you all the commands you can use at the bottom in little white boxes, with the keyboard shortcuts used to trigger them right in them (^ stands for the control key there):
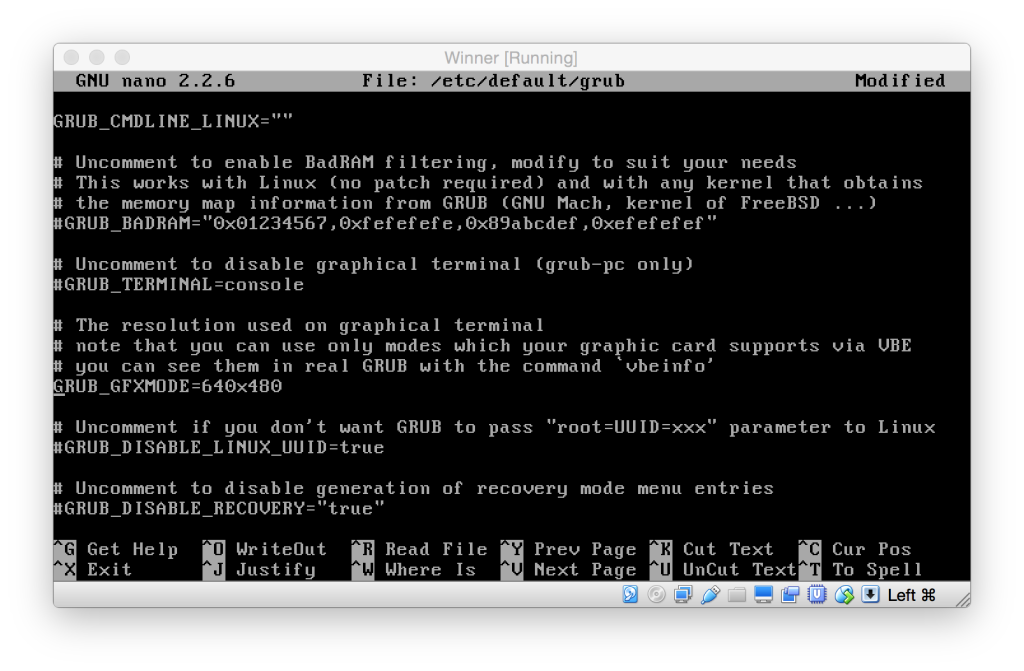
Most of the lines in this file are deactivated (commented out) using the # character. Remove the one in front of GRUB_GFXMODE to tell it we want it to use a graphical display of that size, not the usual text mode that we're currently using.
Save and close the file (WriteOut and Exit, i.e. Ctrl+O, return, Ctrl+X in nano).
Now usually this would be enough, but Ubuntu Minimal is missing a few components. So now type sudo apt-get install v86d. This tells Ubuntu to install the v86d package that does something. If you left out this step, you would get an error message telling you that v86d doesnt work on the next step. Confirm that you want to install these whopping 370kb of code by pressing y when asked. It will churn a bit.
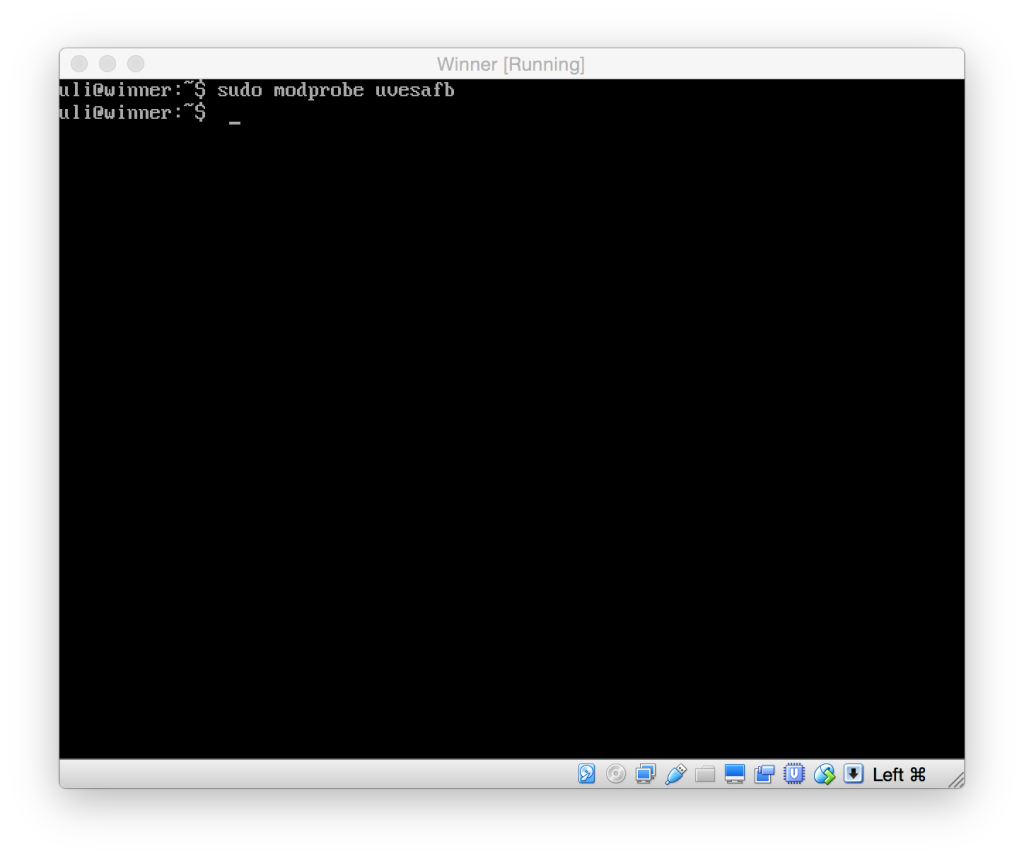
Type in sudo modprobe uvesafb. The graphics drivers on Linux all implement the so-called framebuffer commands. That's what fb here stands for. VirtualBox emulates a VESA display, and uvesafb is the modern version of the vesafb graphics driver youd want for that. So were telling our Kernel to load that module now.
If all works, all that you should see is that your screen resizes to 640480, i.e. becomes more square-ish:
Now we don't want to manually have to activate the frame buffer every time, so lets add it to the list of modules the Kernel loads automatically at startup. Type sudo nano /etc/initramfs-tools/modules to edit the module list and add uvesafb to the end of the list (in my case, that list is empty):
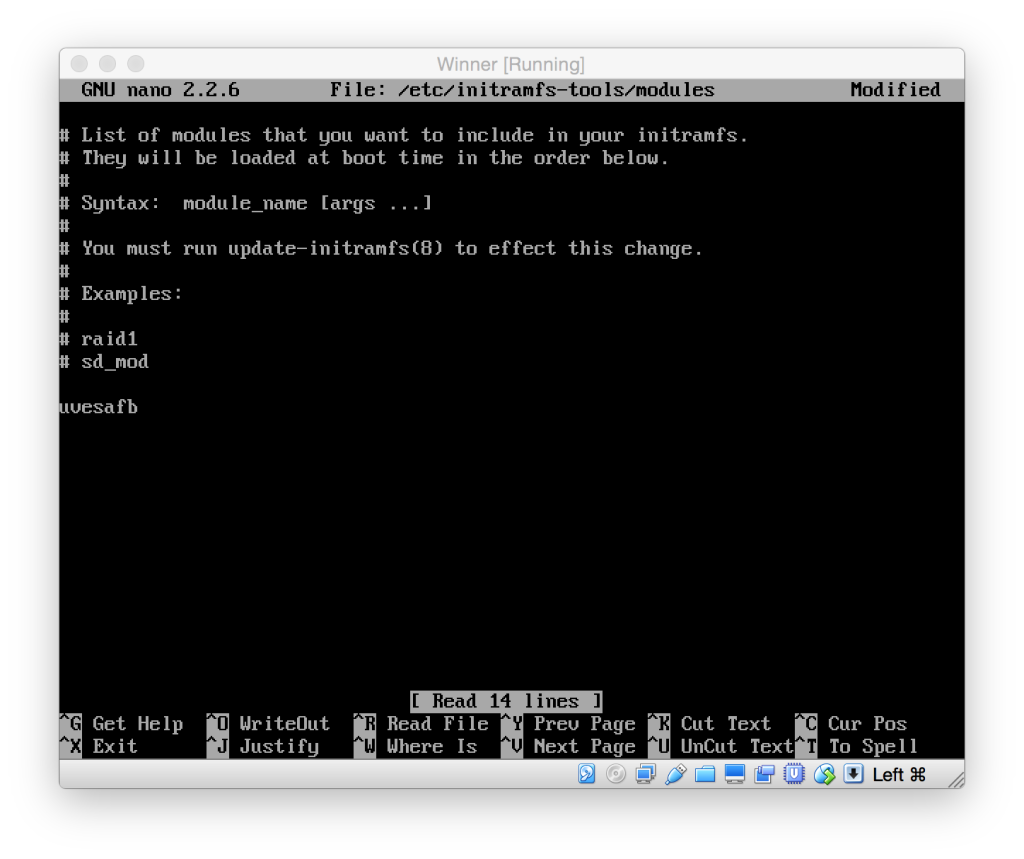
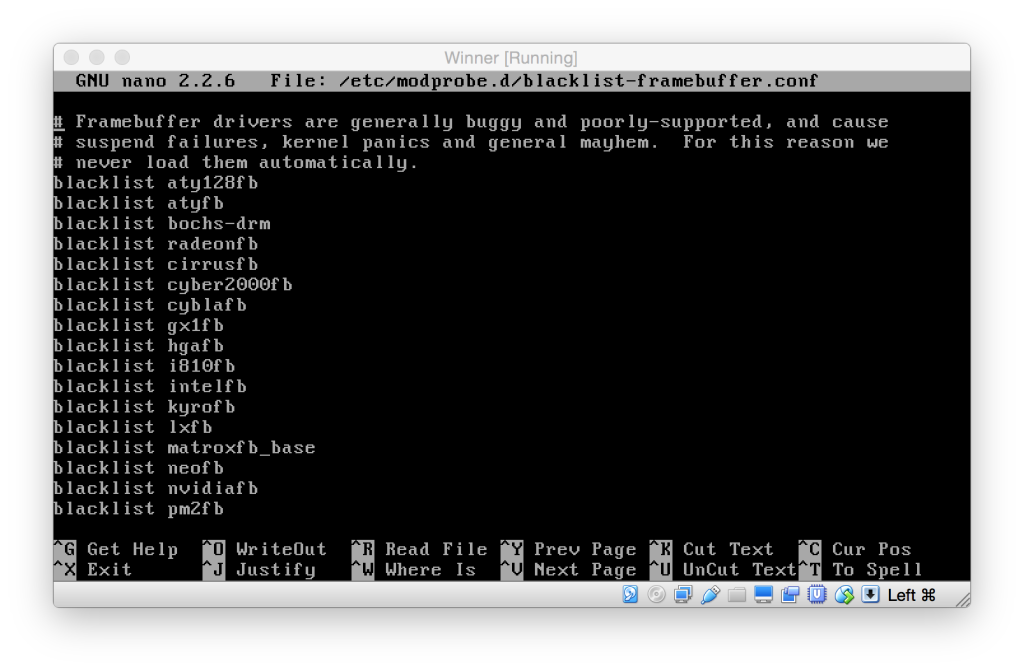
The professionals also suggest that you check the file /etc/modprobe.d/blacklist-framebuffer.conf to make sure it doesnt list uvesafb as one of the modules not to load. If it does, just put a # in front of it to deactivate it.
Now run sudo update-initramfs -u which tells the system to re-generate some of the startup files that are affected by us adding a new module to the list. It will churn for a moment.
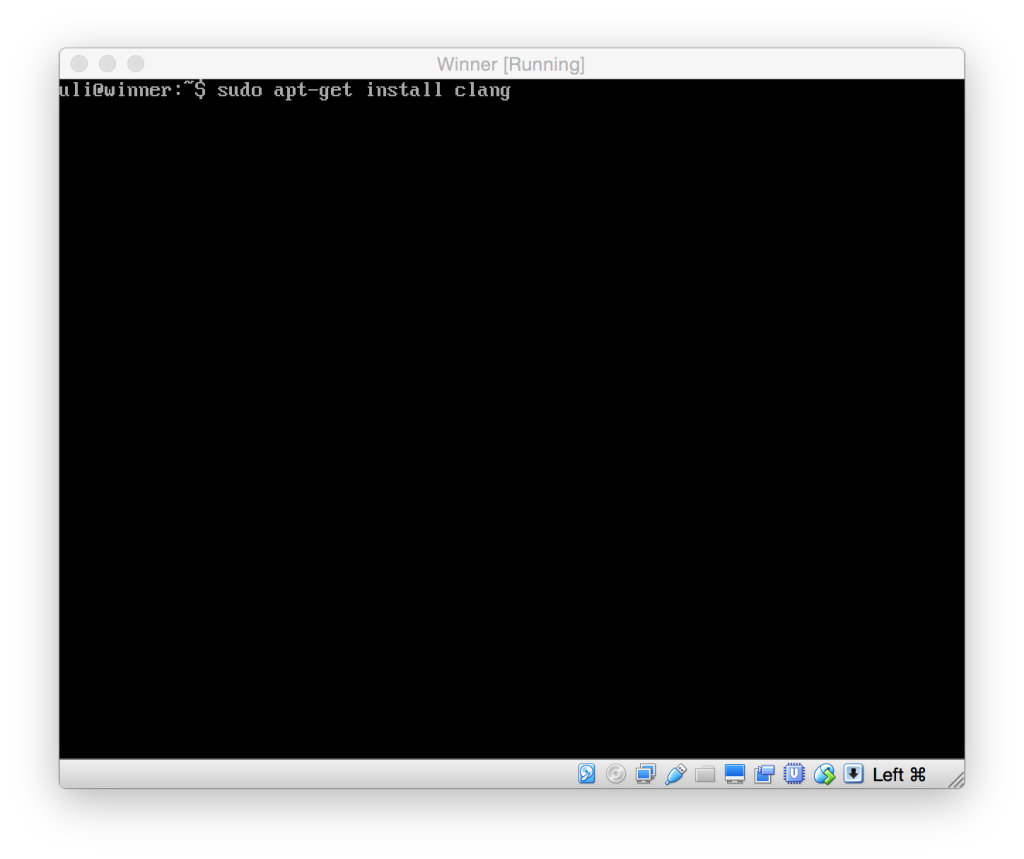
Now we need a nice compiler to compile our code with. There's probably a copy of GCC already on here, but just for kicks, lets use clang instead, which gives nicer error messages. Enter sudo apt-get install clang:
Finally, we need a way to get our source code on this machine, so lets install the git version control system:
sudo apt-get install git
OK, now pretty much everything we need is set up. Part 2 in this series will get us to actually running some code against this graphics card driver.
You can shut down your virtual Linux box until youre ready to try Part 2 by typing sudo poweroff.
